
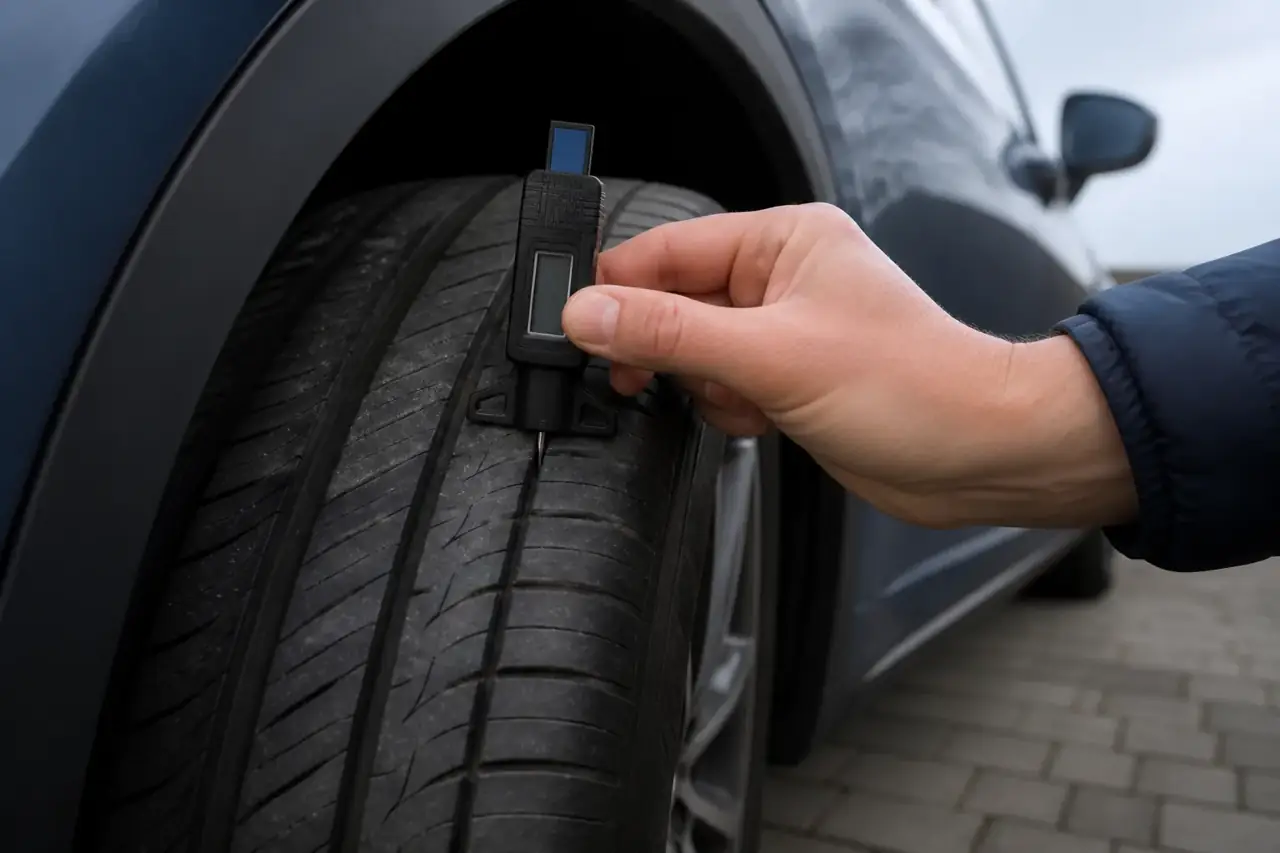
Check several points across every tyre, not just the easiest outer edge. Turn the steering to expose the front tread where safe, then use a proper tread-depth gauge in the main grooves.
How to check tyre tread depth is easier to understand when you separate the immediate decision from the checks behind it. Check several points across every tyre, not just the easiest outer edge.
Tyres are the vehicle’s contact with the road, so a small defect or incorrect setting can affect braking, steering and stability. The safest approach is to make this check part of a routine rather than waiting for an MOT, warning lamp or difficult journey.
Short answer: Check several points across every tyre, not just the easiest outer edge.
What you need to know
The important detail
Turn the steering to expose the front tread where safe, then use a proper tread-depth gauge in the main grooves.
Make the observation in good light and compare it with the same area on the other tyres.
What it means in practice
For UK cars and light vans, the legal minimum is 1.6mm across the central three-quarters of the tread and around the complete circumference.
Do not let the legal minimum or absence of a warning light become the only test of condition.
What drivers often miss
Measure inner, centre and outer areas. Uneven readings can indicate alignment, pressure or suspension problems.
Record anything unusual so you can explain it clearly if a professional inspection is needed.
Replace a tyre before it reaches the legal limit if grip, damage or weather conditions make continued use unsafe.
A sensible check, step by step
-
Work on level ground away from moving traffic.
-
Check all four tyres, not only the one that first caught your attention.
-
Repeat the check regularly and before a long journey.
Common mistakes to avoid
- Relying on a single quick glance instead of checking the whole tyre and its inner edge.
- Using a generic number or internet tip when the vehicle handbook gives a specific requirement.
- Assuming a tyre is safe because no dashboard warning is showing.
What to do next
Check the complete tyre specification and condition in good light. Write down anything that differs between the four corners of the car. If the tyre may be unsafe, avoid unnecessary driving and arrange an inspection by a competent tyre professional.
Quick questions
Can I rely on a visual check?
No. A visual check is useful for obvious damage, but pressure, tread depth and internal condition may need the correct gauge or a professional inspection.
Should I check only before an MOT?
No. Tyres change between tests. Regular checks and a check before long journeys are a better routine.
What if I am still unsure?
Treat uncertainty about damage, fitment or pressure as a reason to ask a competent tyre professional before continuing a journey.
Find local tyre help Search tyre prices →