
Repeated pressure loss is a fault to diagnose, not something to manage indefinitely by topping up. Possible causes include a nail, leaking valve, damaged wheel rim, bead corrosion or previous repair failure.
Driving with a slow puncture is easier to understand when you separate the immediate decision from the checks behind it. Repeated pressure loss is a fault to diagnose, not something to manage indefinitely by topping up.
Tyre symptoms rarely diagnose themselves. The same vibration, noise or pressure loss can have more than one cause, and continuing to drive can turn a repairable issue into a replacement—or conceal a wheel or suspension fault.
Short answer: Repeated pressure loss is a fault to diagnose, not something to manage indefinitely by topping up.
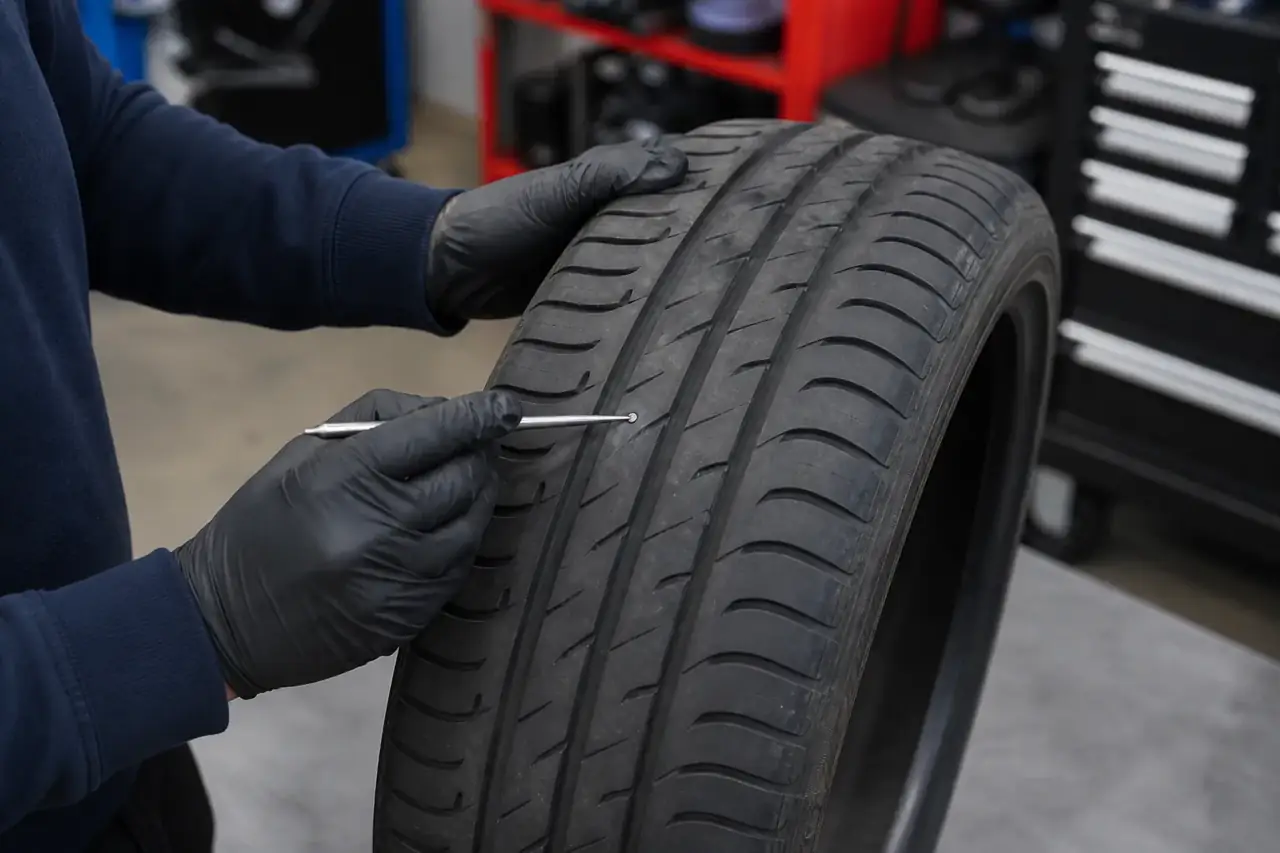
What you need to know
The important detail
Possible causes include a nail, leaking valve, damaged wheel rim, bead corrosion or previous repair failure.
Look for a pattern: when it happens, which corner appears affected and whether pressure or speed changes it.
What it means in practice
Underinflation increases heat, flex and wear and can damage the tyre beyond repair.
A symptom can originate in the tyre, wheel, steering or suspension, so avoid buying parts before the cause is established.
What drivers often miss
Record the pressure and how quickly it falls, then arrange inspection promptly.
Comparing all four corners often reveals whether the issue is isolated or part of a wider wear pattern.
Stop if pressure falls rapidly, steering changes, vibration appears or the tyre looks distorted.
A sensible check, step by step
-
Note when the symptom started and whether speed, steering or weather changes it.
-
Compare all four tyres for pressure, damage and uneven wear.
-
Ask a fitter to identify the cause before authorising replacement work.
Common mistakes to avoid
- Relying on a single quick glance instead of checking the whole tyre and its inner edge.
- Using a generic number or internet tip when the vehicle handbook gives a specific requirement.
- Assuming a tyre is safe because no dashboard warning is showing.
What to do next
Check the complete tyre specification and condition in good light. Write down anything that differs between the four corners of the car. If the tyre may be unsafe, avoid unnecessary driving and arrange an inspection by a competent tyre professional.
Quick questions
Can I rely on a visual check?
No. A visual check is useful for obvious damage, but pressure, tread depth and internal condition may need the correct gauge or a professional inspection.
Should I check only before an MOT?
No. Tyres change between tests. Regular checks and a check before long journeys are a better routine.
What if I am still unsure?
Treat uncertainty about damage, fitment or pressure as a reason to ask a competent tyre professional before continuing a journey.
Find local tyre help Search tyre prices →